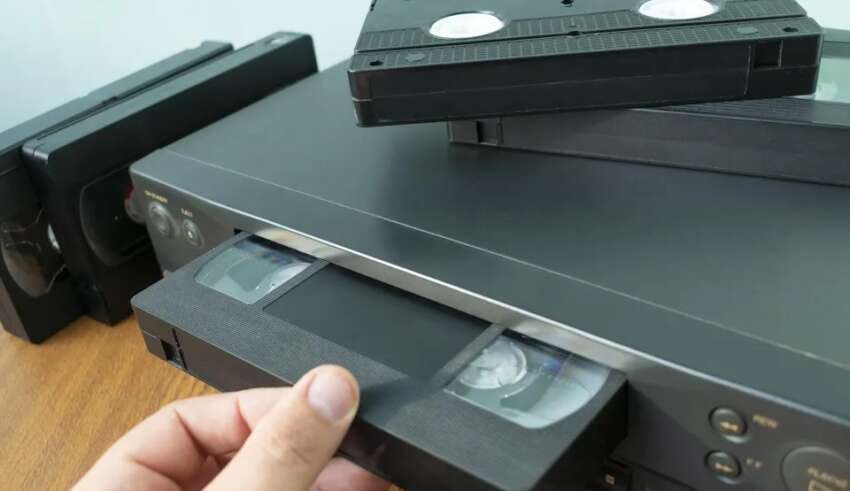
VHS tapes were once the primary means of recording and watching videos, from home movies to Hollywood blockbusters.
However, with the rise of digital formats, VHS tapes have become increasingly obsolete, making it difficult for people to access and enjoy their cherished memories.
In this comprehensive guide, we’ll delve into the process of restoring and transferring your old VHS tapes — using VHS to digital converters or a professional service — so you can preserve your memories in a modern and accessible format.
Tools and Equipment Needed
To restore and transfer old VHS tapes, you’ll need the following tools and equipment:
- A working VHS player:You’ll need a VHS player to play back your tapes during the transfer process. Make sure it’s in good working condition, as a faulty player can damage your tapes or result in poor transfer quality.
- A video capture device:These devices connect your VHS player to your computer, allowing you to record the video as a digital file. There are many different video capture devices on the market, so be sure to choose one that’s compatible with your computer and VHS player.
- Video editing software:Once you’ve captured the video, you’ll need software to edit and convert the digital file to your desired format. There are many free and paid options available, with varying levels of complexity and features.
- Cables and adapters:You may need additional cables and adapters to connect your VHS player to the video capture device and your computer. These may include RCA cables, S-Video cables, or HDMI adapters, depending on your equipment.
Cleaning and Repairing the Tapes
Before transferring your VHS tapes, it’s essential to clean and repair them to ensure the best possible transfer quality. To clean and repair your tapes, follow these steps:
- Exterior cleaning:Gently remove dust, dirt, and debris from the tape’s exterior using a soft, lint-free cloth. This will help prevent contaminants from entering your VHS player and affecting the playback quality.
- Inspecting the tape:Carefully inspect the tape for any visible damage, such as creases, tears, or mold. If you find any issues, you may need to consult a professional to assess whether the tape can be repaired.
- Cleaning the tape heads:If you notice any dirt, dust, or debris on the tape heads (the part of the tape that comes into contact with the VHS player), you can use a cotton swab and a very small amount of isopropyl alcohol to gently clean them. Be cautious not to apply too much pressure or use abrasive materials, as this could damage the tape.
- Repairing damaged sections:If you find that a section of the tape is damaged or torn, you may be able to repair it using splicing tape or a VHS tape splicing kit. This is a very intricate process with very little room for error. If you feel uncomfortable with this repair process, it may be best to leave it to tape restoration experts.
- Dealing with mold:If your tapes have mold, it’s essential to address the issue promptly, as mold can spread and damage other tapes. Consult a professional VHS tape restoration service for advice on safely removing mold and preventing its recurrence.
Transferring and Digitizing the Tapes
Once your tapes are clean and in good condition, it’s time to transfer and digitize them. You have two primary options for transferring your VHS tapes: DIY or professional help.
DIY: Using VHS to Digital Converters
If you’re comfortable with technology and have the necessary equipment, you can transfer your VHS tapes yourself.
Connect your VHS player to your video capture device using the appropriate cables, and then connect the video capture device to your computer. Play the tape and use the video capture software to record the video as a digital file.
Once the recording is complete, use video editing software to trim, enhance, and convert the file to your desired format.
Professional Help: VHS Conversion Service
If you’re not comfortable with the DIY process or want to ensure the highest possible transfer quality, you can seek the help of a professional VHS conversion service.
They have the expertise and equipment to transfer your tapes with care, ensuring the best possible preservation of your memories. Many services also offer additional features, such as noise reduction, color correction, and video enhancement, to improve the overall quality of the digital files.
In Conclusion
As VHS tapes continue to age and become more obsolete, it’s crucial to take the necessary steps to preserve your memories and transfer them to a modern, accessible format.
By following the steps outlined in this guide, you can clean, restore, and transfer your old VHS tapes, ensuring that your cherished memories will be available for you and future generations to enjoy.
Whether you choose the DIY route or opt for professional assistance, the key is to act now, before your tapes degrade further or become entirely inaccessible.


